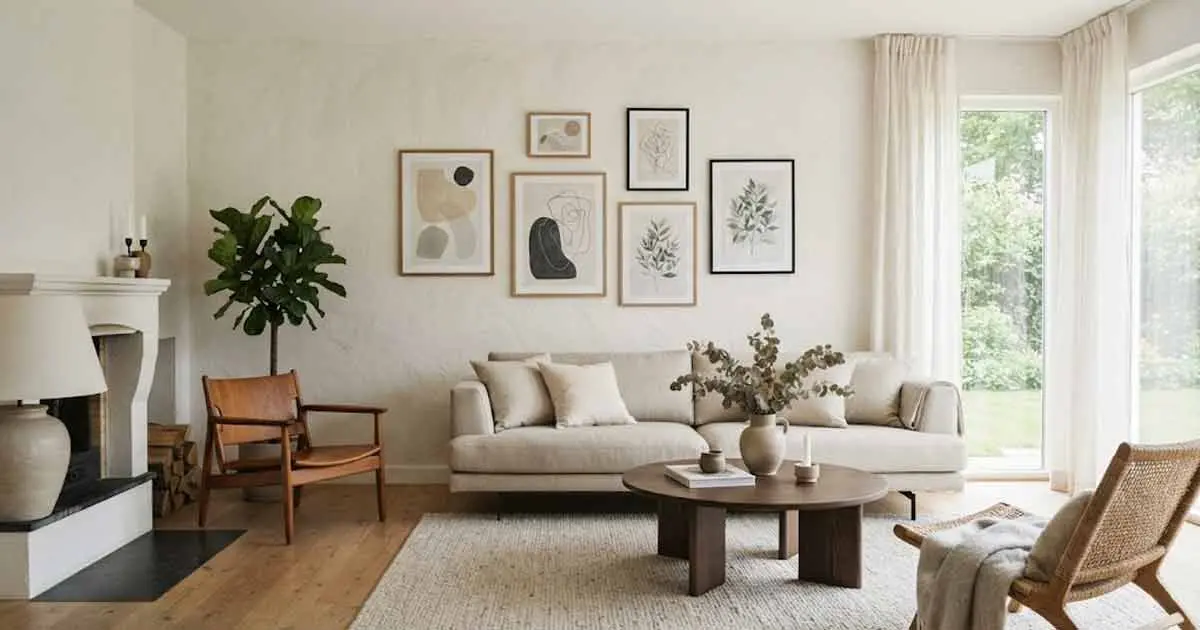
There are a few rules for hanging art on plaster walls, depending on the weight of the art. If the weight of the art is less than 5 lbs. then adhesive hooks will suffice on a clean dry surface. Plaster hooks with hardened needlepoint nails at an angle are used for pieces weighing from 5 to 20 pounds. If it is heavier, use a masonry bit to bore a hole and screw a metal toggle bolt or molly bolt into the hole, then attach a screw hook that can support the weight of the frame. A picture rail system requires no drilling at all and can carry up to 300 lbs. along the rail. The method is important because plaster is harder to crack than drywall and will crack when the wrong hardware is used.
Key Takeaways
- Plaster walls are less pliable than drywall and need special hardware: plaster hooks, toggle bolts, molly bolts or a picture rail system.
- Artwork up to 5 lbs. can be supported by adhesive hooks; plaster hooks can support artwork up to 20 lbs. and toggle bolts and wall anchors can support heavier framed artwork.
- Do not use regular plastic drywall anchors in plaster they will not hold lath-backed plaster.
- Use a masonry bit to drill slowly, use painter’s tape to avoid chipping and find studs wherever possible.
- For collectors who tend to change their artworks often, the picture rail system is the most versatile and wall-friendly solution.
Why Plaster Walls Require a Different Approach
Plaster walls are the more common type of walls in most houses constructed before the 1950s. A plaster wall is made of several layers of wet plaster coated on top of a lath structure formed by narrow wooden strips. This gives a hard, dense finish when dry and will retain it well, but with age will become brittle. Nails driven straight through old plaster, especially with a lot of force, may cause the plaster to crack or peel away from the lath behind it.
The main problem is this brittleness. It does not preclude the hanging of artwork, but it does require the selection of the appropriate hardware and installation method be more carefully considered than it would be on a standard drywall surface. The proper tools treat the material gently, the inappropriate ones break it.
Tools and Materials You Will Need
Prior to starting, collect these:
- Stud finder (electronic or magnetic)
- Masonry drill bit
- A power drill (variable speed)
- Painter’s tape
- Pencil
- Level
- Measuring tape
- A hardware that is appropriate for the piece’s weight (see the weight guide below).
Preparing all materials before beginning work minimizes project delays, hasty choices and compromised walls.
Choosing the Right Hardware for Plaster Walls
The most crucial one is that of matching the hardware to the weight of the artwork. The most frequent reason for wall damage and artwork damage when the artwork falls is due to under-rated hardware used on the piece.
| Artwork Weight | Recommended Hardware | Notes |
| Under 2 lbs | Double-sided tape | For very small, light prints only |
| Under 5 lbs | Adhesive hook | Clean the wall first; apply vertically |
| 5 to 20 lbs | Plaster hook (hardened nail) | Install at an angle, not straight in |
| 20 to 40 lbs | Molly bolt with screw hook | Requires drilling; expands behind wall |
| Over 40 lbs | Toggle bolt or locate a stud | Most secure option for heavy pieces |
| Any weight | Picture rail system | Rail supports up to 300 lbs per linear foot |
Adhesive Hooks
For lightweight pieces of art (less than 5 lbs), adhesive hooks are a convenient and non-damaging method of hanging. Wipe wall surface with isopropyl alcohol and let dry completely before applying. Take off the strip of backing, press the hook firmly against the wall for 30 seconds or more, and do not hang anything for one hour. Adhesive hooks will not adhere to textured, flaking or wet plaster.
Plaster Hooks
Plaster hook, also known as a picture hook, is a single or multiple hardened needlepoint nail driven in at an angle to the upward. The sloped mounting distributes the weight and minimises the risk of cracking. The majority of plaster hooks will hold up to 20 lbs, sufficient for most framed prints and lighter oil paintings. Avoid heavy tapping, use gentle and controlled taps.
Molly Bolts and Toggle Bolts
These metal anchors are the best option for heavier artwork. Plaster is not a material that plastic drywall anchors work well in because they don’t hold back behind the plaster and can easily pull out. When the metal molly bolts are tightened the screw expands, and bites into the back side of the plaster layer. Toggle bolts operate in a like manner, but have spring loaded wings which open behind the lath. Both need to be drilled a clean hole first.
Picture Rail Systems
A picture rail is a horizontal rail that hangs the artwork with cables or hooks and is placed close to the ceiling. This method spreads the weight across the whole rail and is the safest way to lift heavy or large items. A picture hanging rail system can support up to 300 pounds, which is the perfect choice for hanging items on plaster walls, especially for collectors who change their art collections often.
Step-by-Step: How to Hang Artwork on Plaster Walls
Step 1: Test the Plaster Condition
Prior to selection of method, gently press on the wall in the area where the artwork will be mounted. If the surface is soft, bounces slightly or sounds hollow when tapped, the plaster may be detaching from the lath underneath. If the plaster is damaged, hanging art on it can cause additional damage. If there are structural problems, deal with them first.
Step 2: Find the Stud
Use a stud finder to find the wooden studs behind the plaster. Screwing into a stud is much more secure that screwing into a plaster surface. If the desired hanging position is not over a stud, use a metal wall anchor that is rated for the weight of the piece.
Step 3: Mark the Position
With a pencil and measuring tape, mark the exact hanging point. When hanging several pieces in a row or group, check the mark is level with the wall by holding a level.
Step 4: Use Paint
Before drilling or nailing, cover the mark with a small piece of painter’s tape. This will help to minimize the chances of the surface chipping or cracking out from the drill bit or nail. It’s a simple step, but one that veteran picture hangers always suggest.
Step 5: Drill Slowly
If the piece needs to be drilled, attach a masonry bit that is suitable for the anchor size. Adjust the drill to a low speed. Press firmly and evenly (not too quickly or too forcefully). Take breaks to clear dust from hole; do not rush as it can cause cracks.
Step 6: Place the Anchor
Place the anchor in the hole and hammer it flat against the wall. With toggle bolts, slip the toggle onto the bolt before pushing it into place, then tighten the toggle so that the wings press against the back of the wall. If you are using molly bolts, tighten the screw until you feel resistance from the bolt indicating that the bolt is expanded.
Step 7: Attach the Hook and Hang the Artwork
Screw the hook or hanger into the anchor. Compare the weight rating listed on the package to the weight of the piece. Hang the artwork and then view it from a number of different angles to check alignment. It’s easier to make minor adjustments now, before dust has settled.
How to hang artwork without nailing or drilling
There are instances where it is not possible to drill, such as listed buildings, plaster that is too fragile to accept mechanical fastening or rental properties. Here are some other options to consider in these instances.
Adhesive strips: Command strips and other brands are suitable for smooth, clean plaster for lighter items. Pulling the plaster surface with the strip is a common error; be sure to pull carefully following the instructions.
Monkey hooks: These curved wire hooks can be inserted into plaster using just hand pressure without drilling and will hold to moderate weights. They are most effective in plaster with a reasonable density and adhesion to the lath.
Existing picture rail: If there is a picture rail in the room, then this is the easiest solution. In older homes a picture rail is the horizontal wooden or plaster moulding that is usually located near the ceiling. Picture rail hooks fit over the moulding and attach cords or cables to hang pictures. There is no need for any wall contact at all.
Tension and cable systems: Gallery style tension rod systems that extend from floor to ceiling can hang artwork at any height off the wall. These suit areas where artwork is subject to frequent changes and where the integrity of the walls is to be maintained.
How to hang heavy oil paintings on plaster
The canvas oil painting is a particular challenge. The canvas is light, but a heavy wooden stretcher frame and elaborate gilded surround can increase the weight to a level that a typical plaster hook can not safely support. For items over 20 pounds, the best way to go is to find two studs and attach a French cleat. French cleat is a pair of beveled boards, one attached to the wall and one attached to the back of the frame. The frame securely attaches to the wall cleat and levels without any extra hardware.
The interest of the collector who is just starting to collect original oil paintings is not only in displaying the work, but also in determining its value. Shani Levni’s guide to evaluating artwork: value, analysis, and interpretation explores the process used by art professionals to determine the critical and market value of a piece, and how to display it in the best possible way.
Common Mistakes to Avoid
Using plastic drywall anchors. These will not work in plaster. The material behind a plaster wall is not the space in which a plastic anchor expands, it is wooden lath. Only use metal anchors.
Nailing straight. A nail perpendicular to a plaster wall applies a point load, which is likely to cause cracking in the plaster around the nail. Install with hooks that are angled down to accept the nail.
Not using painter’s tape. The risk of chipping the surface is higher when drilling or nailing without using the tape, especially in older plaster which may be brittle.
Ignoring weight ratings. The weight rating on picture hooks is maximum and not a recommendation. Do not touch it, do not stand at it, especially when it’s irreplaceable art!
Suspended from one hook of a broad frame. Wide frames will have lateral stress on one hanging point and will lean. Attach two hooks at a known distance and hang the frame from both.
When hanging the artwork, how to preserve it?
Mounting a piece is also the time when it’s most susceptible to contact damage. Some precautions minimize the potential for damage to the frame and wall surface during installation.
Place artwork face down on a clean, padded surface and mark the placement of hanging hardware on the back of the frame. Do not place on a bare floor, use furniture pads or a folded blanket under the frame. Have another person hold the frame when you are moving it onto the wall to ensure it is level and final adjustments are made. If the work has a known value, it is worth taking an interest in the documentation that proves authenticity and ownership, prior to its display. The guidance on certificate of authenticity for artwork outlines how to keep proper provenance records for original artwork.
How to make a Gallery Wall on Plaster
The gallery wall is different from a single piece, as it takes more thought to get right before any hardware is installed on the wall.
The best approach is to trace each frame on kraft paper, cut out the frames and then place them on the floor in order. After the arrangement is satisfactory, tape the templates to the wall using painter’s tape and indicate the hanging points on the wall. Take off the templates and install the hardware in the indicated locations. This eliminates the need for multiple holes and guesswork that is associated with hanging pieces individually.
Gallery walls are appropriate for collectors who have started to create or collect art on a regular basis. Anyone who has learned a method of creating a product, whether structured or otherwise, including oil painting classes, will find that he or she has more work than can be displayed in a scheduled gallery than he or she might think.
How to repair plaster after removal of artwork
When artwork is removed, there is always some residue of the artwork left behind on the wall. The repair method is dependent upon the hardware used.
If the hole is small, fill with a light spackling compound with a putty knife, dry thoroughly, sand smooth and touch with matching paint.
Use a plaster repair patch kit for larger holes caused by toggle bolts. They have a mesh back that connects to the hole and a setting compound that forms a hard surface. Sand when thoroughly cured and paint to match.
If the plaster has separated from the lath, the repair is more complex, and may need to be reattached to the lath using plaster washers and screws before the surface is filled and refinished.
Conclusion
It’s not hard to hang art on plaster walls, but it’s a bit more involved than hanging on drywall. The secret is to choose hardware that can support the weight of the piece and drill slowly with the correct bit, and to keep the surface safe with painter’s tape while installing. If the load is light, adhesive hooks or plaster hooks can be used. If the painting is heavier framed, the metal toggle bolts or a stud connection is the right choice. A picture rail system is the solution for collectors who are looking to rotate their collection frequently without touching the wall.
The right installation ensures that the artwork is safely hung, the wall is not damaged, and the display is appropriate to the art. Visit Shani Levni to discover all the art practice, art display and art appreciation guides.
Frequently Asked Questions
Is it possible to hang pictures on plaster walls without drilling?
Yes. Adhesive hooks are suitable for attaching objects weighing less than 5 lb to clean, smooth plaster surfaces. Monkey hooks can be pushed in by hand for slightly heavier items. Hooks that hang from a picture rail, near the ceiling, hang art from cords without touching the wall.
Which is the best anchor to use for plaster walls?
Metal anchors are the preferred choice. For heavy items, toggle bolts are effective, as the spring-loaded wings spread behind the wall. Molly bolts suit medium weight pieces and are easier to install than toggle bolts. Plastic drywall anchors should not be used in plaster.
What is the best way to hang a large painting on a plaster wall?
Use a stud finder to find a wooden stud and use a screw directly into the wood. If there is no stud at the correct location, use a metal toggle bolt that is rated for more than the piece’s weight. French cleat on two studs is the most secure and level for very heavy framed oil paintings.
Will Command strips work on plaster walls?
Smooth, sealed plaster surfaces can be used for light artwork with command strips and other adhesive products. They are not uniformly tacky on rough, textured or crumbling plaster surfaces. Test adhesion on a small area first and carefully use the removal instructions to ensure that the plaster surface is not lifted when removing them.
How to locate a stud in a plaster wall?
Most plaster walls will work with an electronic stud finder; however, some older lath configurations may not provide consistent readings. The screws or nails in the lath run in parallel rows and mark the location of the studs, a strong neodymium magnet will find these. The spacing of studs in most residential construction is 16 inches on centre.
How high should artwork be hung on a wall?
In most galleries and museums, the recommended standard height for hanging artwork is 57-60 inches above the floor. This means that the focal point of the work will be at the eye level of an adult standing. In grouped arrangements, consider the group as one unit and compose around the middle of the arrangement.